
Last updated November 15, 2026
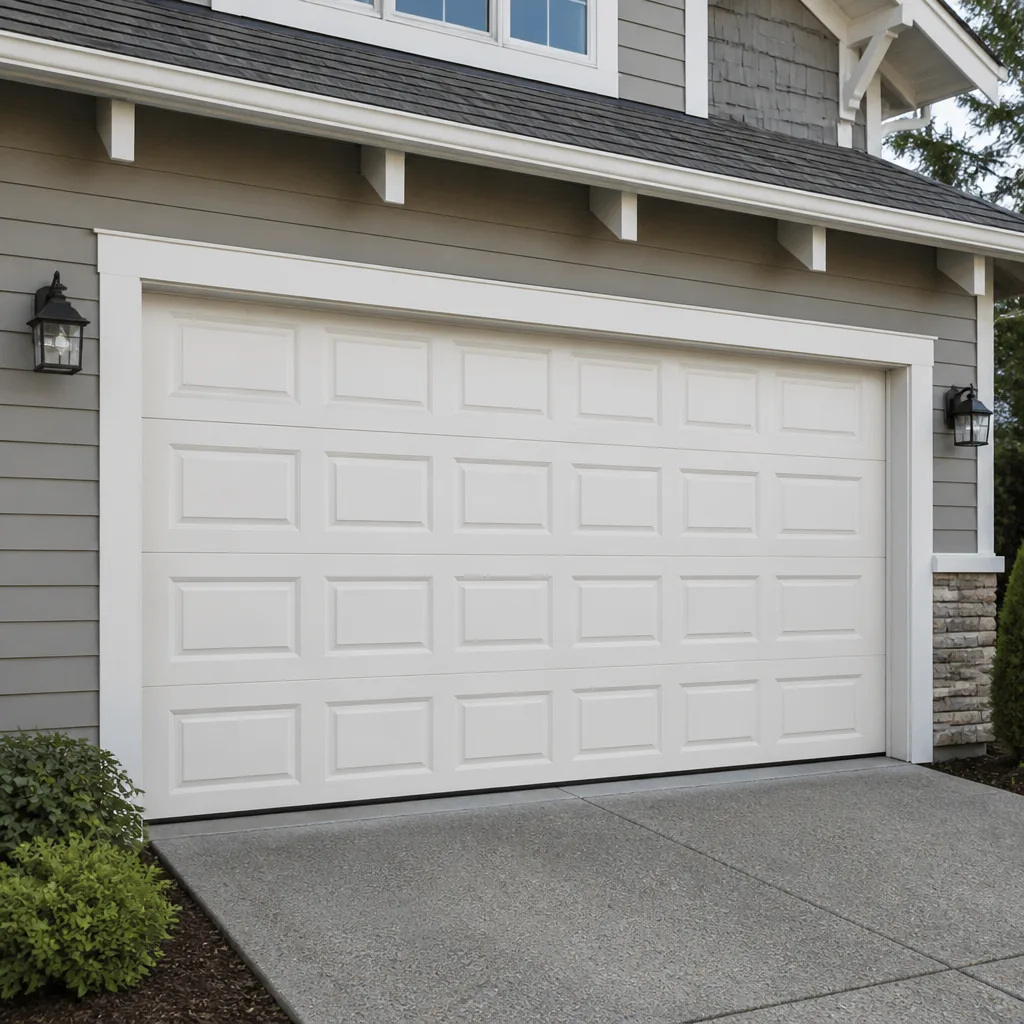 Raised-panel steel
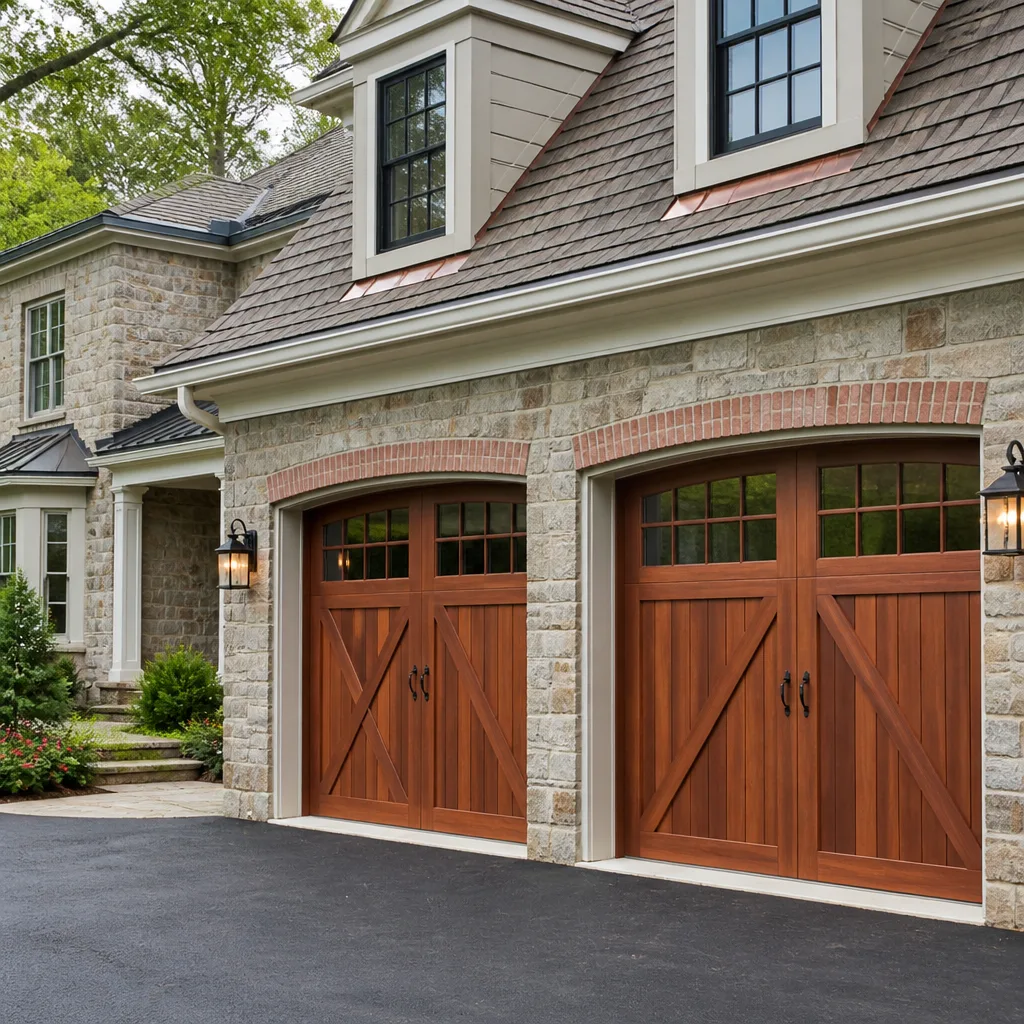 Carriage house
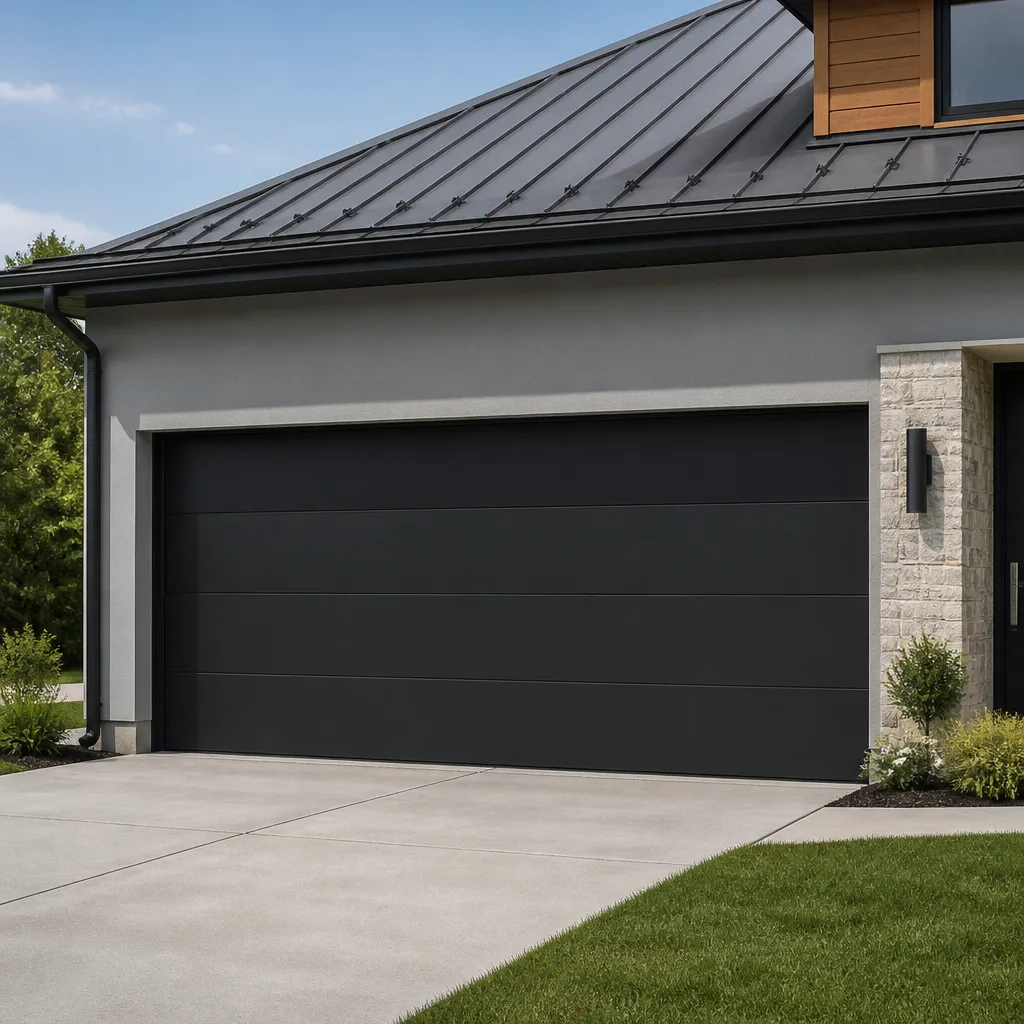 Modern flush
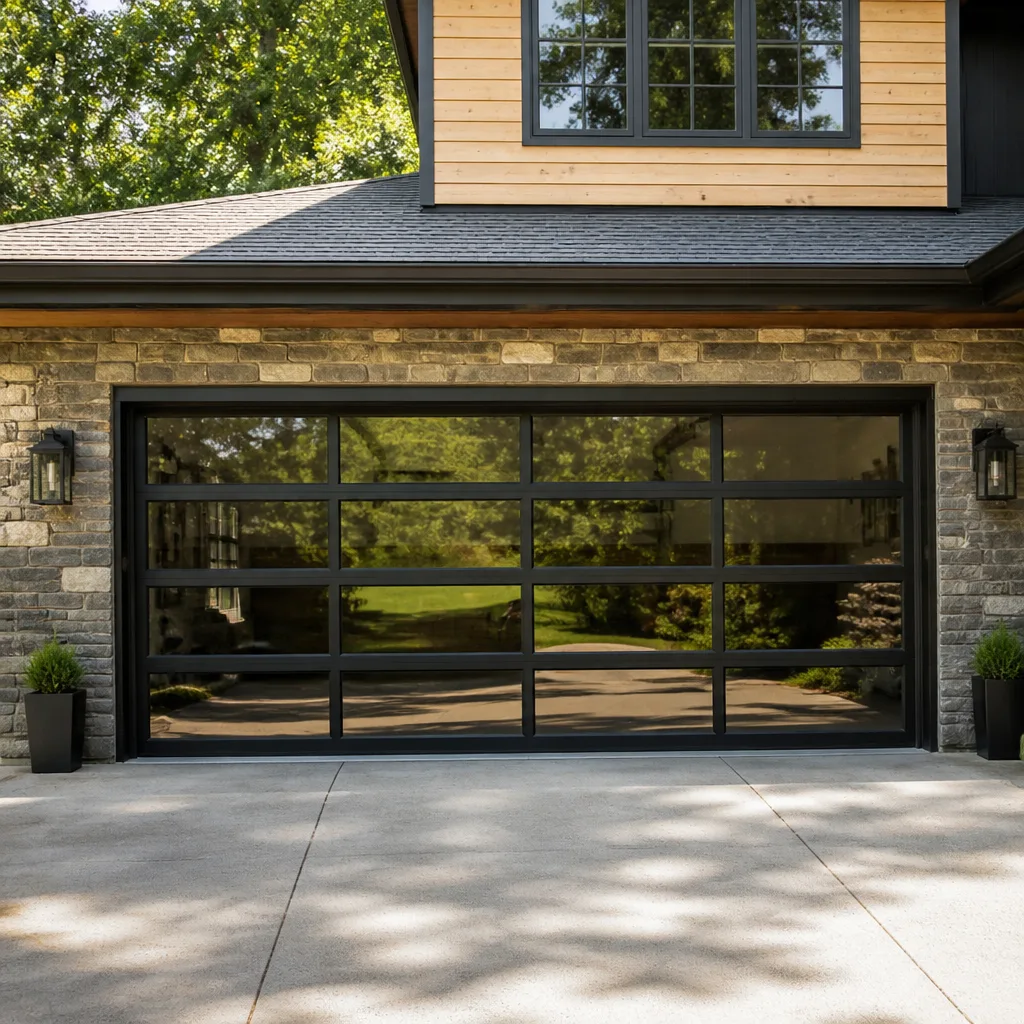 Full-view glass
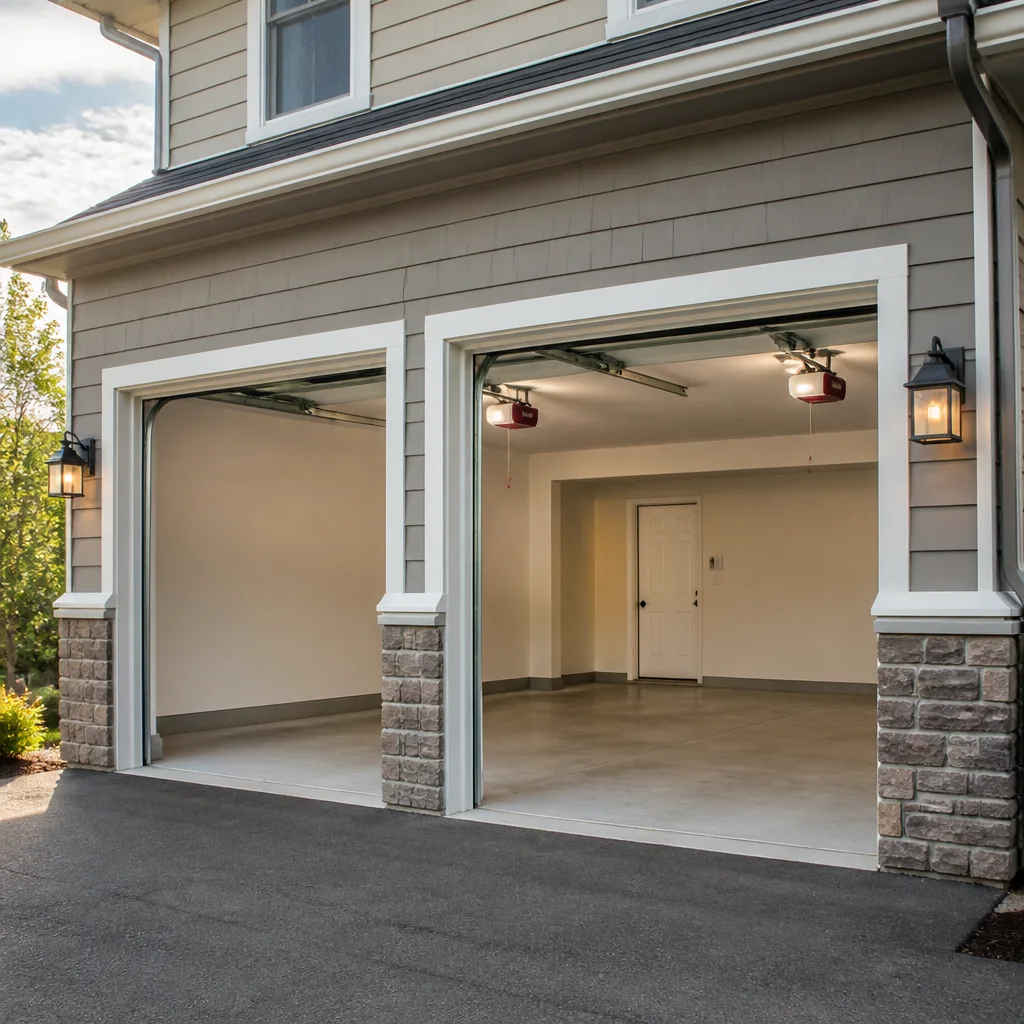 LiftMaster openers
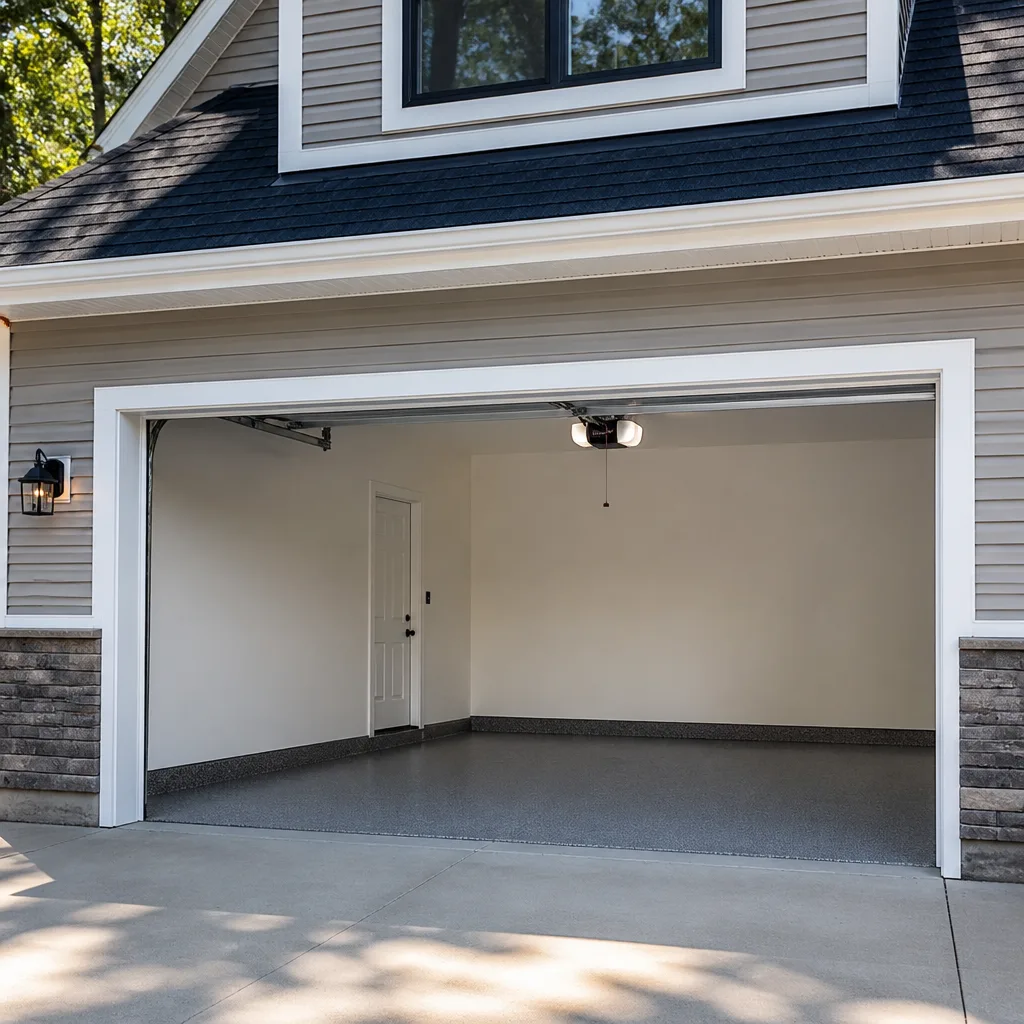 Chamberlain openers
Full 25-point door and opener safety check with every visit - springs, cables, rollers, tracks, and your LiftMaster or Chamberlain opener included
You get a price before we start. It does not change when the pro arrives.
Get your free estimateGarage Door Repair Maintenance Checklist for Boulder Homeowners
Most garage door advice you’ll find online starts with lubrication. We’d argue the more common failure here isn’t skipping the oil at all, it’s using the wrong oil. A general-purpose grease that pours fine in July can turn to gel by a January morning below 20°F, and that gel works its way into the roller bearings until the door drags, the opener strains, and a repair bill lands that a five-minute seasonal swap would have prevented. Boulder sits at the foot of the Flatirons at roughly a mile high, which means dry, cold winters, sudden Chinook wind events, and a spring snowmelt that puts real moisture against the bottom seal for weeks. Those are the stressors that actually break doors here. This checklist is sequenced by what fails first on Boulder doors, with a printable monthly, quarterly, and annual breakdown you can pin to the garage wall.
Quick Answer
A good garage door maintenance checklist for Boulder homeowners runs on three rhythms: a monthly look at the safety sensors, balance, and weather seal (2 minutes); quarterly lubrication with a cold-rated product and hardware checks (15 minutes); and an annual spring and cable inspection plus opener force test (30 minutes). The single most important local adjustment is switching to a silicone- or lithium-based lubricant that stays fluid through a Boulder winter instead of a heavier grease that thickens below freezing. Anything involving springs or cables is inspection only, not a DIY repair. For Boulder Garage Door Service, we treat those two components as the line between “check it yourself” and “call a trained technician.”
Styles & brands we work with
- Raised-panel steel
- Carriage house
- Modern flush
- Full-view glass
- LiftMaster openers
- Chamberlain openers
Table of Contents
- What Does a Boulder Garage Door Actually Face Each Season?
- Monthly Checklist: The Five-Minute Walkaround
- Which Lubricant Works in a Boulder Winter vs. Summer?
- Spring Tension Drift: What to Watch For Before a Cable Snaps
- Bottom Seal and Weatherstrip: A Boulder Snowmelt Calendar
- Sensor Alignment After Chinook Winds
- Opener Diagnostics and the Force Test
- Printable Monthly, Quarterly, and Annual Task List
What Does a Boulder Garage Door Actually Face Each Season?
A garage door in Boulder is exposed to a wider temperature swing across a single week than doors in many coastal cities see all year. A 55°F afternoon in February can be followed by a 5°F night three days later. Metal expands and contracts with those swings, and every hinge, roller bearing, and seal on the door follows along. The door isn’t the problem; the constant cycling is.
The bigger local issue is that Boulder’s climate stresses different parts of the system on a schedule, and the checklist should be built around that schedule instead of a generic “check everything twice a year” line.
- Winter (cold, dry, windy): Lubricant thickens, seals stiffen and can crack, and the opener motor works harder to move a door that no longer glides. Sub-20°F mornings are when seized rollers and stripped gears show up.
- Spring (wet snowmelt): Meltwater pools against the bottom seal and the garage footing. The seal and weatherstrip get their hardest test of the year. Water that reaches the seal’s underside can cause rust at the bottom brackets and lift the seal off its retainer.
- Summer (hot, dry, high UV): Sun on a west-facing door softens seals and dulls a painted steel finish faster than in climates with more cloud cover. Springs expand slightly with heat, which can mask tension problems until the temperature drops.
- Fall (Chinook wind events): Boulder’s downslope winds, commonly called Chinooks, push against the door and rattle the sensor brackets mounted near the floor at each side of the opening. A bracket nudged a fraction of an inch out of alignment misfires the safety sensors.
Once you know which season hits which component, the maintenance calendar writes itself. That’s what the rest of this checklist does, one section at a time.
Monthly Checklist: The Five-Minute Walkaround
Five minutes once a month catches most of what goes wrong on a garage door before it becomes a repair. None of this requires tools, and none of it puts your hands near a spring or a cable. Set a recurring reminder and walk through these in order.
- Listen. Open and close the door and stand in the middle of the garage. Grinding, squealing, or a metallic rattle means a dry bearing, a loose hinge, or a roller that’s no longer round. A door that closes with a thump usually has a worn bottom seal.
- Watch the travel. Slight variations in speed are normal. A door that jerks, stops partway, or reverses without an obstruction is a signal worth tracking.
- Test the safety sensors. With the door open, press the wall button to close it and pass a hand through the beam at each side. The door should reverse. Repeat on the other side. Do this with nothing blocking the door.
- Check the balance. Disconnect the opener (pull the red release handle), then lift the door halfway by hand and let go. A balanced door stays put. A door that slams down or drifts back up has spring tension that’s drifted. If the door is heavy to lift, that’s also a tension warning.
- Look at the bottom seal. Run a hand along the bottom edge. A seal that’s cracked, torn, or pulled loose from its retainer lets in water, cold air, and the occasional determined field mouse.
- Walk the track with your eyes. Look for dents, a track that’s pulled away from the frame, or debris at the floor curve. Don’t hammer a bent track straight – that’s a technician’s job.
If the door fails the balance test, treat that as a call for garage door repair rather than a weekend project. The balance test is the single best monthly check on a Boulder door.
Which Lubricant Works in a Boulder Winter vs. Summer?
A lubricant that pours cleanly at 70°F can turn to paste at 10°F, and that paste is what seizes roller bearings on a cold Boulder morning. Choose a product based on the temperature it will see, not the temperature you’re applying it in.
- Cold-season (late fall through early spring): A silicone-based spray or a lightweight lithium grease that stays fluid below freezing. It won’t hold up as long as a heavier product in the heat, but that trade is worth it in winter. Apply it to the roller bearings, hinge pivots, and the torsion or extension spring coils – not to the track.
- Warm-season (late spring through early fall): A slightly heavier white lithium grease holds up better under summer heat and doesn’t run off the springs. It’s still light enough to sit on the bearing surfaces instead of gumming up.
- Year-round rules: Never use WD-40 or any general-purpose penetrating oil on hinges, rollers, or springs. It cleans rather than lubricates and attracts dust. Never grease the door track. Never put oil on nylon rollers – they’re designed to run dry. If a roller is nylon, replace it when it wears rather than lubricating it.
The transition point for most Boulder homeowners is a change of season, so tie the swap to something memorable. When you change the clocks, change the lubricant. When the first hard freeze appears in the forecast, do one full lubrication pass with the cold-rated product before the door has to work in single digits. Two applications a year, matched to the season, is usually enough for a door that opens once or twice a day.
If the door still feels sluggish or noisy after a full lubrication, the problem is likely mechanical rather than a dry bearing. That’s when a diagnostic visit makes sense for garage door opener repair or a hardware inspection.
Spring Tension Drift: What to Watch For Before a Cable Snaps
A torsion spring that’s under too much or too little tension is the leading cause of a snapped cable on a residential garage door, and it’s a job for a trained professional – not a homeowner with a winding bar. Springs are under extreme tension even when the door is at rest. They can release that tension without warning, and the tool used to adjust them can whip around if it slips. In our experience, that’s the one part of garage maintenance where the only safe action is a visual inspection, a note, and a call.
What you can do is learn what tension drift looks like so you catch it early.
- The door no longer balances. You already test this monthly. A door that used to stay halfway up and now drifts down is losing tension. That drift is your earliest signal.
- The opener struggles at the start of the cycle. Tension loss makes the door effectively heavier, and the opener has to lift it. A loud motor that used to be quiet often means the door is loading the opener unnecessarily.
- The door lifts 6 inches and stops. On a torsion setup, the door balancing poorly at the bottom of the travel can be a sign that a spring has already broken or the cable has slackened.
- A visible gap in the spring coil. With the door closed, stand outside the garage and look at the torsion spring above the door. The coil should be tight end to end. A clear gap means the spring has broken and the door should not be operated.
- The cable has moved off the drum. Look at the two cables running up the vertical tracks. If one is loose, riding over the edge of the drum, or frayed at any point, treat it as an immediate call.
Boulder’s temperature swings amplify spring stress because metal springs lose a small amount of tension each time they cycle through a fast temperature drop, and the number of cycles matters more than calendar age. An annual spring-and-cable inspection, ideally scheduled for early fall before the first hard freeze, catches drift while it’s still adjustable rather than a repair-in-progress.
If you see a broken spring or a frayed cable, don’t operate the door and don’t try to fix it yourself. That single rule is worth more than any tool. Call us and we can book a technician to look at it.
Bottom Seal and Weatherstrip: A Boulder Snowmelt Calendar
Your bottom seal and weatherstrip need an inspection at least twice a year in Boulder, once before winter and once after snowmelt season ends – usually late May. Boulder’s dry, cold winters stiffen the rubber, and the wet spring snowmelt that runs across driveways and pools against the garage footing is the seal’s biggest stress test. A seal that’s shrinking or cracked lets cold air in during the winter and meltwater in during the spring.
The bottom seal sits in a retainer or slides into a channel at the bottom edge of the door. It’s the rubber strip that meets the floor. The weatherstrip runs up the sides and across the top of the opening, mounted on the frame. Both fail from UV, cold, and physical wear – and both are inexpensive to replace compared with what water damage inside the garage costs.
- Fall check (before first hard freeze): Run a hand along the full length of the bottom seal. Look for cracks, hardening, or a seal that isn’t making solid contact with the floor. Close the door on a piece of paper at several points – if it pulls freely, the door isn’t sealing there.
- Spring check (once snowmelt is done): Look for wet spots or water staining on the floor at the door line. Wet spots mean the seal or weatherstrip is failing somewhere. Check the bottom brackets for rust, which points to meltwater reaching the hardware.
- Side and top weatherstrip: Run a finger down the side strips and along the top. Cracks, brittleness, or a strip pulling away from the nails that hold it in place are the signs to watch. On a door with side weatherstrip, look for a daylight gap between the closed door and the frame at any point.
- The frame and footing: With the door closed, check the concrete at the base of the opening. A crack at the floor line lets water in below the seal, no matter how good the seal itself is.
Replace the seal when it cracks, retainer and all if the retainer is rusted or bent. Side weatherstrip usually lasts longer than the bottom seal, but check it at the same time so you don’t replace one and discover the other. This is also a point where Boulder homeowners see damage that originated in a single wet spring – one bad snowmelt season can age a seal more than a full year of dry weather.
Sensor Alignment After Chinook Winds
Boulder’s Chinook wind events knock safety sensor brackets out of alignment more often than any other cause, so check sensor alignment after any sustained wind event and once monthly as a baseline. The two sensors sit near the floor at each side of the opening and must aim directly at each other across the doorway. A bracket nudged a fraction of an inch by wind or by a car bumper is enough to trip the door’s close-cycle sensor and make the door reverse on its own.
The good news is that most sensor problems are alignment and wiring, not a failed sensor. Here’s the sequence a technician uses and you can use for a monthly check.
- Look at the LEDs. Both sensors have a small LED. A solid LED on each side means the beam is aligned and the circuit is live. A blinking LED on one side, or no LED at all, is the signal.
- Check the brackets by eye. With the door open, sight across the two sensors. If one is visibly tilted or pointed up or down, that’s the problem.
- Check for debris. Spider webs, leaves, and dust on the sensor lens are the cheapest cause and the most overlooked. Wipe with a soft cloth.
- Check the wiring. Each sensor is held to the bracket and wired back to the opener. A wire that’s come loose or been cut is a call-level problem.
- Re-test the beam. Pass a hand through the beam and confirm the door reverses. Repeat on the other sensor.
If a sensor is aimed up at the ceiling after a wind event, a simple bracket adjustment usually restores alignment. If the bracket itself is bent, replace it rather than bending it back – bent brackets never hold their alignment. If you have a modern smart-home-compatible opener (LiftMaster, Chamberlain, and Genie systems are the most common here) a persistent sensor fault is usually visible in the opener’s app or diagnostic LED pattern, which makes the fix faster to find. On a force test failure combined with a sensor fault, treat the sensor as the first thing to check.
We repair sensors and opener circuits across every major brand, and we can walk through the LED pattern with you when you call.
Opener Diagnostics and the Force Test
An opener force test takes under five minutes and catches a failing opener motor or a door that’s loading the opener, before either returns a bigger repair bill. The test is simple: open the door, place a piece of wood flat on the floor in the door’s path, and close the door. It should reverse on contact with the wood. If it doesn’t, stop using the opener until a technician diagnoses the cause – a door that won’t reverse is a safety problem, not a convenience one.
Run the test once a month along with the sensor check. Here’s what else belongs in a monthly and seasonal opener check.
- Wall button and remote: Press both. Both should work reliably. A remote that only works from close range usually means a battery or a receiver issue.
- Open and close force: The opener should move the door smoothly. Jerky travel, a door that stops partway through the up cycle, or a door that reverses on close with nothing in the way is a signal for a diagnostic.
- Drive belt or chain tension: On a belt or chain drive, check for excess slack on the rail. A belt that’s stretched past its adjustment will need replacement.
- Battery backup: If your opener has a battery backup, test it once a year by unplugging the opener and operating the door. A backup that doesn’t lift the door is a battery that needs replacing.
- Obstruction: The number-one opener “failure” is a door that won’t close because the sensors or the opener itself have detected a mechanical issue – not a broken opener. Diagnose the door before replacing the opener.
This is where brand knowledge matters. A LiftMaster, a Chamberlain, a Genie, and a Craftsman opener each have characteristic failure points and characteristic ways of reporting a fault – usually a diagnostic LED sequence or an app entry. A specialized garage door opener repair visit diagnoses the fault before parts are ordered. We service those brands, plus LiftMaster’s and Chamberlain’s consumer lines, and we know the failure signatures on each.
Printable Monthly, Quarterly, and Annual Task List
Here’s the whole checklist on one card, organized by how often each task needs to happen. Pin it on the wall next to the wall button and check items off as you go.
Monthly (about 5 minutes)
- Open and close the door and listen for new noises.
- Test both safety sensors by passing a hand through each beam.
- Run the balance test with the opener disconnected.
- Run the opener force test with a piece of wood in the door’s path.
- Look at the bottom seal for cracks or separation.
- Wipe sensor lenses free of dust and webs.
- Check sensor alignment by eye after any sustained wind event.
Quarterly (about 15 minutes)
- Lubricate hinges, roller bearings, and spring coils with a season-appropriate product.
- Check hinges for loose screws and tighten any that have backed out.
- Inspect roller bearings for flat spots or grinding.
- Run a finger along the side and top weatherstrip for cracks or pulling nails.
- Look at the concrete at the base of the opening for cracks.
- Test the opener remote and wall button together.
Seasonal (change of season)
- Swap to cold-rated lubricant before the first hard freeze, and back to warm-season grease in spring.
- Inspect the bottom seal and retainer before winter and again after snowmelt ends (late May).
- Check bottom brackets for rust after snowmelt.
- Confirm the door closes fully against the seal after each season change.
Annual (about 30 minutes)
- Full spring and cable visual inspection, ideally in early fall.
- Opener drive belt or chain inspection and tension check.
- Battery backup test (if your opener has one).
- Hardware check: hinges, brackets, and roller replacement as needed.
- One full lubrication pass across all moving parts.
- Full door balance check with a helper.
If you’d rather not handle the annual list yourself, we can do a full inspection and adjust anything that’s drifted. If the checklist turns up something you’d rather not touch, that’s a good time to call us in Boulder.
Common Mistakes to Avoid
- Using summer grease in winter. The number-one local mistake. A grease that flows at 70°F can turn to gel below 20°F and seize roller bearings. Swap the lubricant at the season change.
- Lubricating the door track. The track is designed to run dry. Oil on the track attracts dust and grit, and the rollers start to slide instead of roll.
- Oiling nylon rollers. Nylon rollers are meant to run dry. Oil on a nylon roller just collects dust. Replace a worn nylon roller; don’t lubricate it.
- Ignoring a hard-changing balance. A door that used to stay halfway up and now drifts down is sending you the earliest signal of spring tension drift. Catch it before the cable tells you.
- Skipping the post-snowmelt check. The wet spring snowmelt is the biggest test of the bottom seal and the footing each year, and most homeowners only think about the door in fall.
- Resetting sensor brackets after wind and calling it done. A bent bracket that’s been re-bent by hand never holds its alignment. Replace it.
- Replacing the opener when the door is the problem. The most common cause of “the opener is broken” is a door that’s loading the opener or a sensor that’s out of alignment. Diagnose the door first.
See the difference
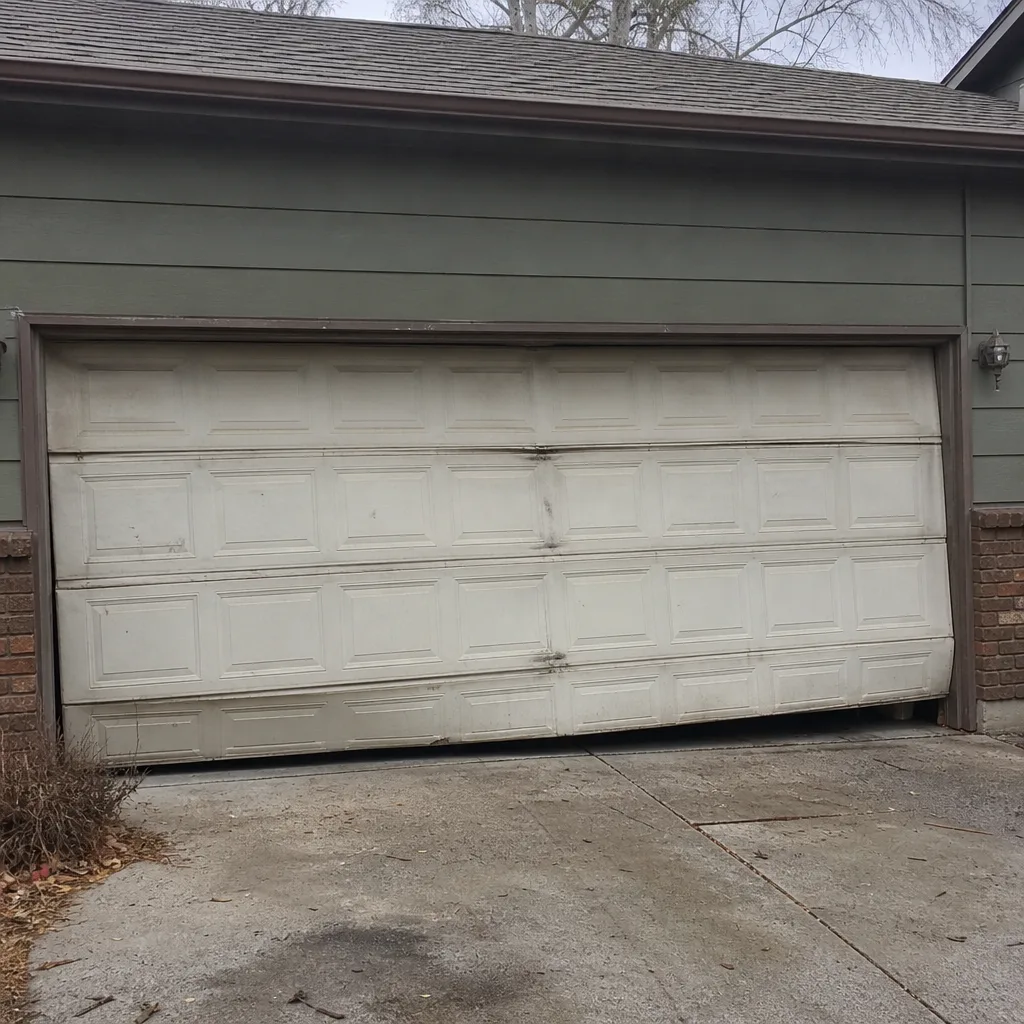 Before
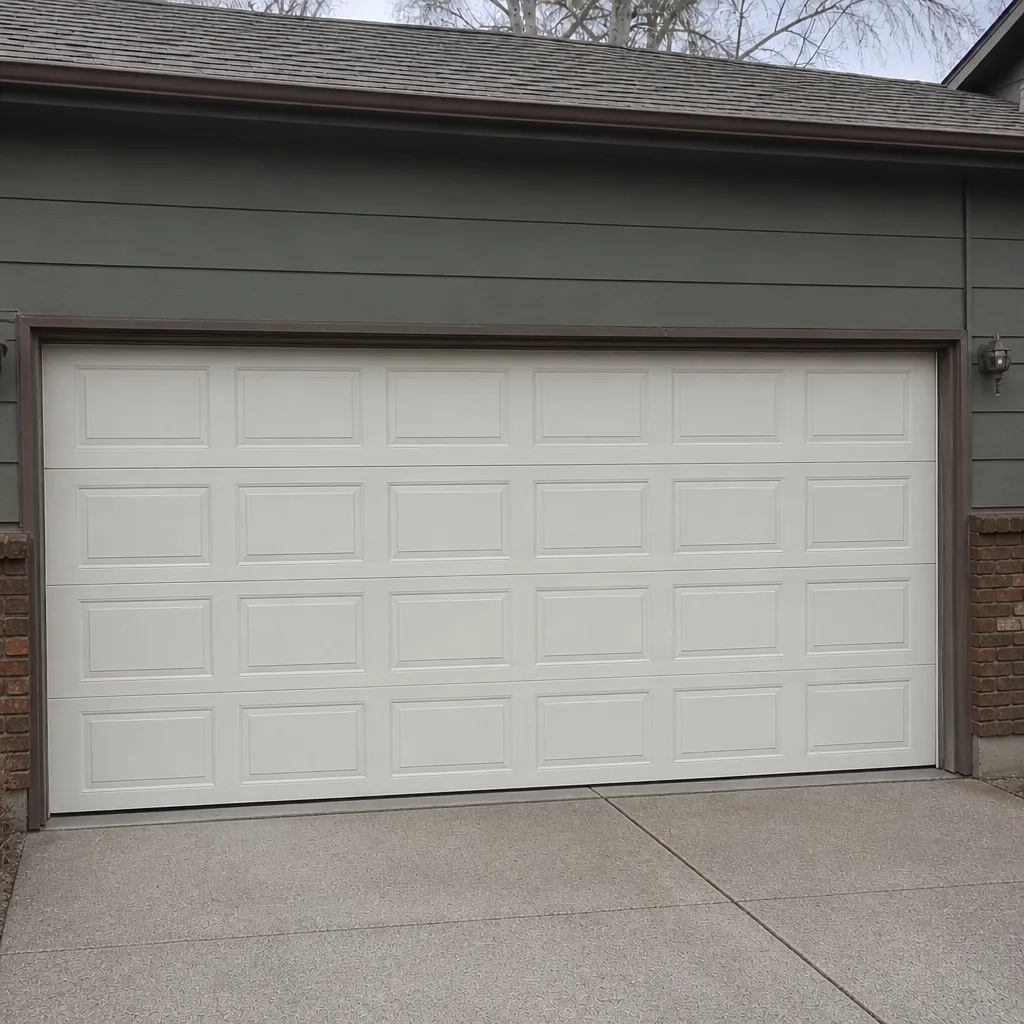 After
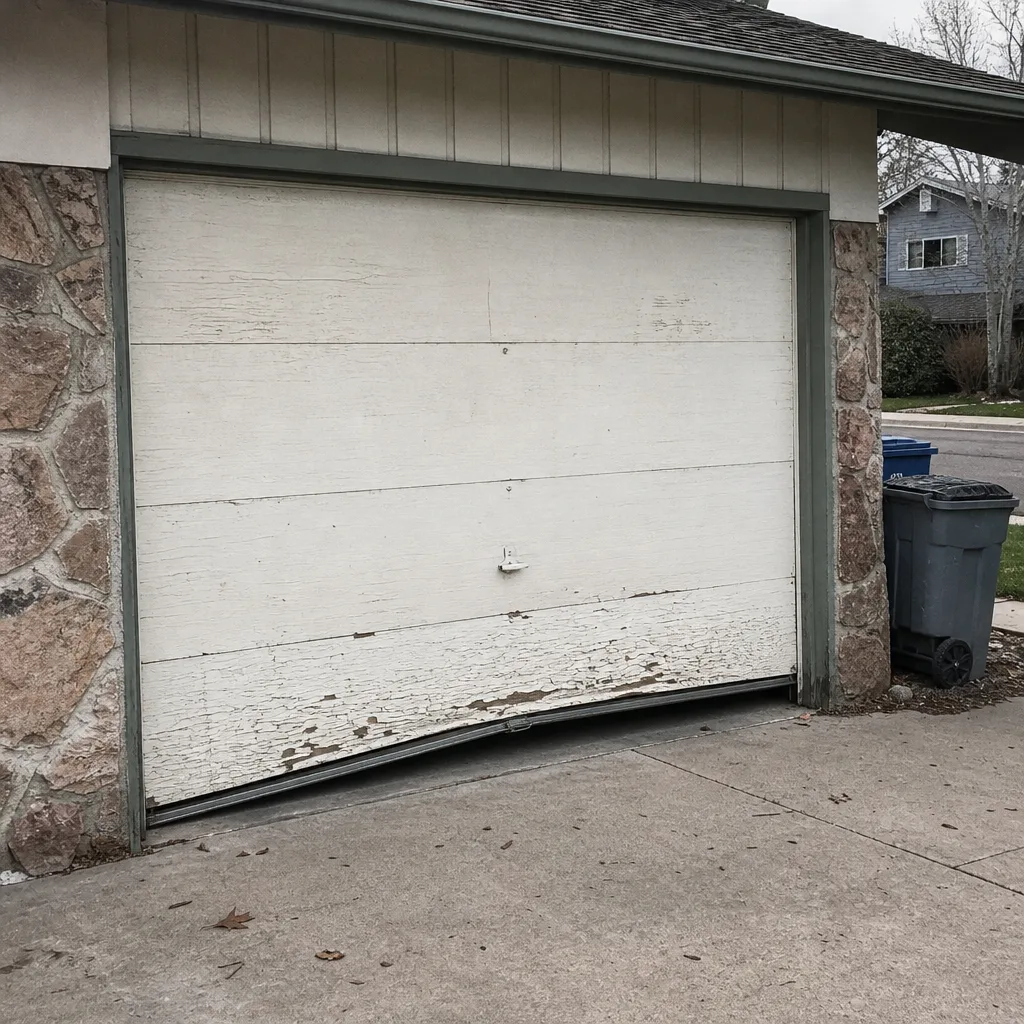 Before
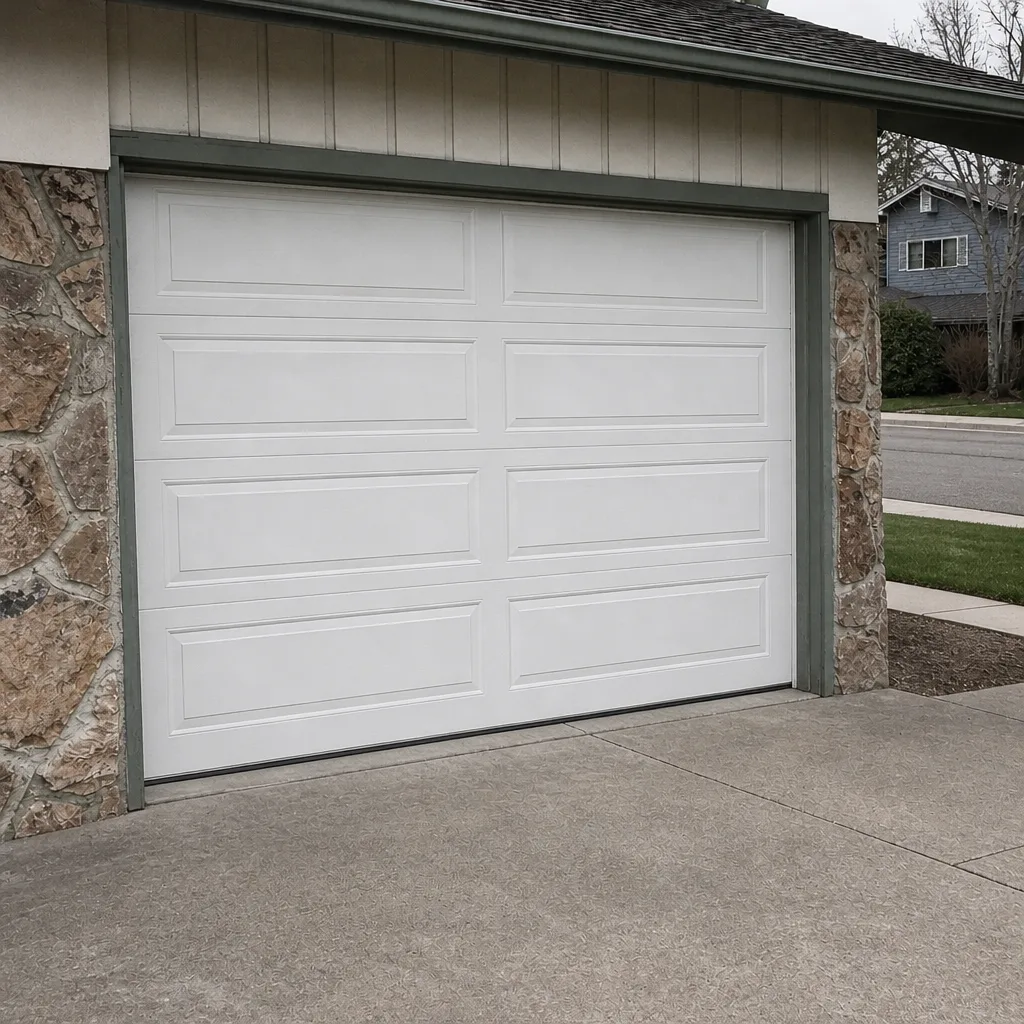 After
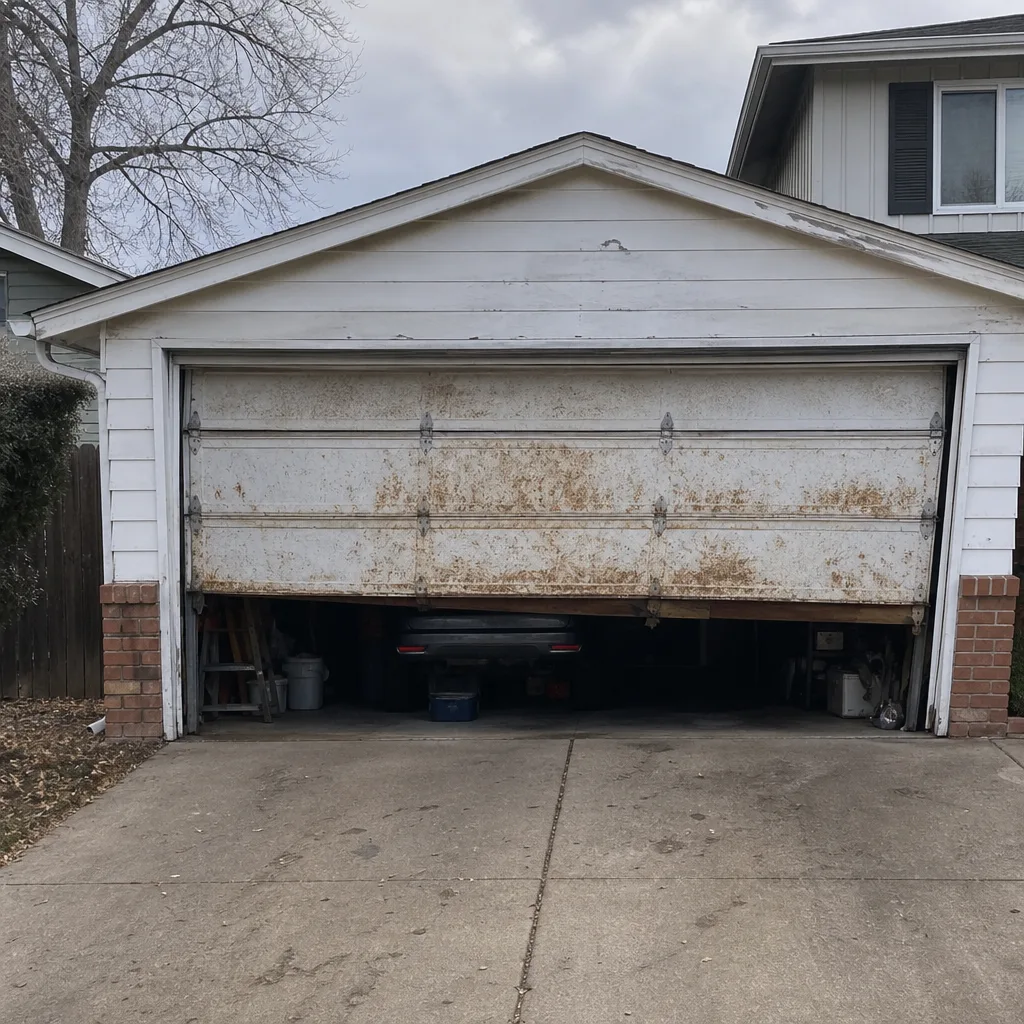 Before
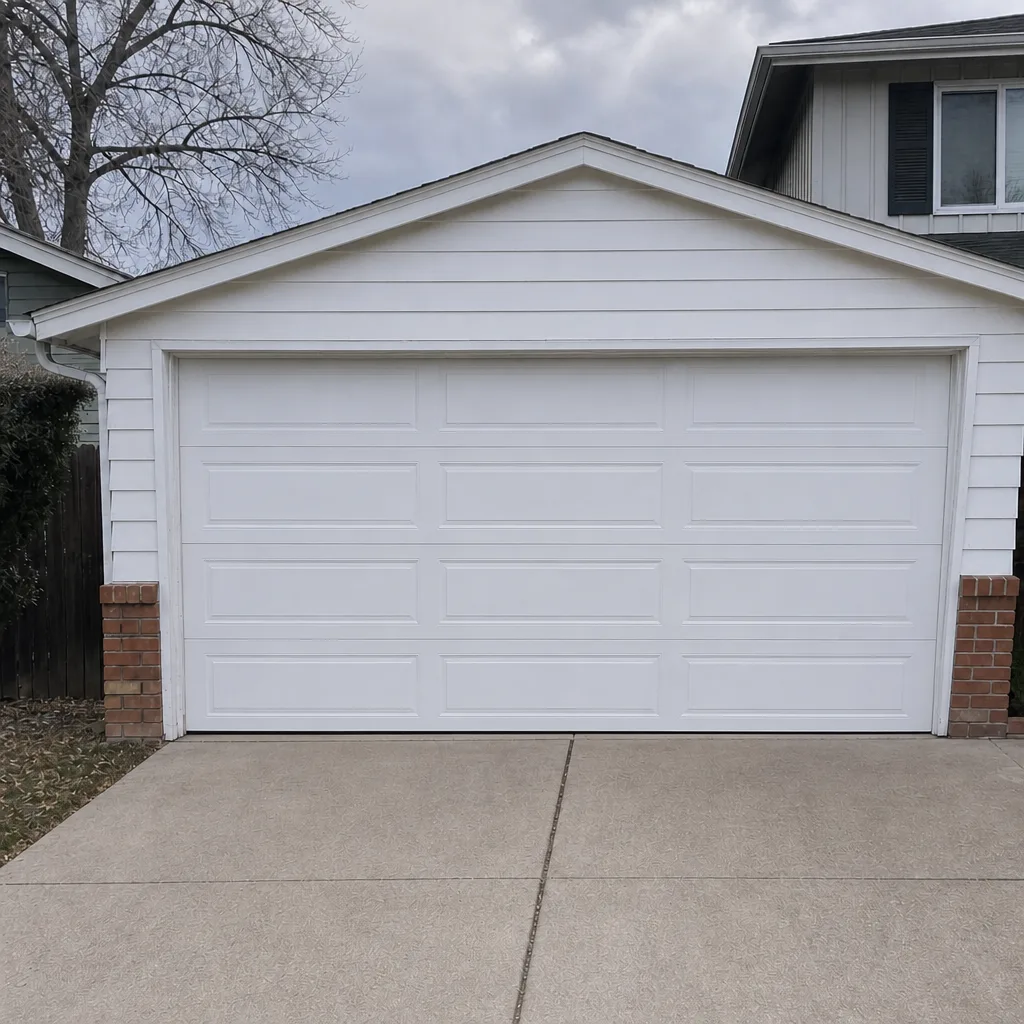 After
When to Call a Professional
Some checklist items are for you. Some are for a technician. The divide is clear: anything involving springs, cables, and the internal tension or winding of the door is a technician’s job. A snapped spring or a frayed cable means the door should not be operated until a tech has seen it. A door that reverses on close with nothing in the way, a door that won’t fully close or open, an opener that motor-stalls, a door that visibly hangs off one side while opening, and a sensor circuit that keeps faulting after bracket and lens checks are all call-level issues. If you’re not sure which category a problem belongs to, that’s usually a sign to call.
We’ve serviced the brands Boulder homeowners actually own – Amarr, Wayne Dalton, Craftsman, and Raynor among them – so the tech who arrives already knows the failure points of the exact door and opener in your garage. Our technicians have up to 9 years of experience. Boulder Garage Door Service offers free estimates in Boulder – call (855) 683-6002. We answer 24/7. Fast dispatch from 7am to 7pm, Sunday through Friday, closed Saturday.
Frequently Asked Questions
An annual professional service plus the monthly and quarterly checks in this guide covers the vast majority of Boulder doors. Call (855) 683-6002 for a free estimate on a full inspection – it’s the fastest way to know which checks your door actually needs.
No. Torsion and extension springs are under extreme tension even when the door is at rest, and a spring that lets go can cause serious injury. Springs and cables are inspection-only for a homeowner. Call (855) 683-6002 to book a technician for any spring or cable concern.
Two causes, usually at the same time: the lubricant thickens below freezing, and the tension drifts as the metal contracts. Start with a season-appropriate cold-rated lubricant, then check the balance. If the door still drags, that’s a mechanical fault and a call is the right next step – (855) 683-6002.
A silicone-based spray or a lightweight lithium grease in cold months, and a slightly heavier white lithium grease in warm months. Never a general-purpose penetrating oil like WD-40, and never grease on a door track. If a full lubrication pass doesn’t fix the noise, call (855) 683-6002 for a diagnostic.
Look at the small LEDs on each sensor. Both should be solid. A blinking LED on one side, or no LED, is the signal. Wipe the lenses, check the brackets by eye, and re-test the beam. If the bracket is bent or a wire has come loose, call (855) 683-6002 – those need a technician.
We book same-day service whenever it’s available. Call (855) 683-6002 first thing and we’ll schedule a visit. We answer 24/7. A call outside dispatch hours is booked into the next opening, Sunday through Friday, 7am to 7pm. We service LiftMaster, Chamberlain, Genie, and Craftsman openers, plus the door brands above.
The Bottom Line
The right garage door maintenance checklist for Boulder isn’t a generic list of “check everything twice a year” – it’s a calendar built around the local stressors. Cold winters mean cold-rated lubricant, snowmelt means a spring seal inspection, and Chinook winds mean a post-wind sensor check. Run the monthly five-minute walkaround, do a full lubrication swap at each season change, and have the springs and cables inspected once a year. The monthly balance test is the single highest-value check you can make, because it gives you the earliest warning before spring tension drift turns into a snapped cable. For anything involving springs, cables, or a stubborn opener fault, the cheapest move is a call. We handle diagnostics, repair, and installation on the brands you own, with both the door and the opener under one roof.
Boulder Garage Door Service offers free estimates. Call (855) 683-6002. We answer 24/7. Fast dispatch from 7am to 7pm, Sunday through Friday, closed Saturday. We’ll diagnose what’s actually failing before we recommend any part – and you’ll get a written price before we start work.
Written by the team at Boulder Garage Door Service.